
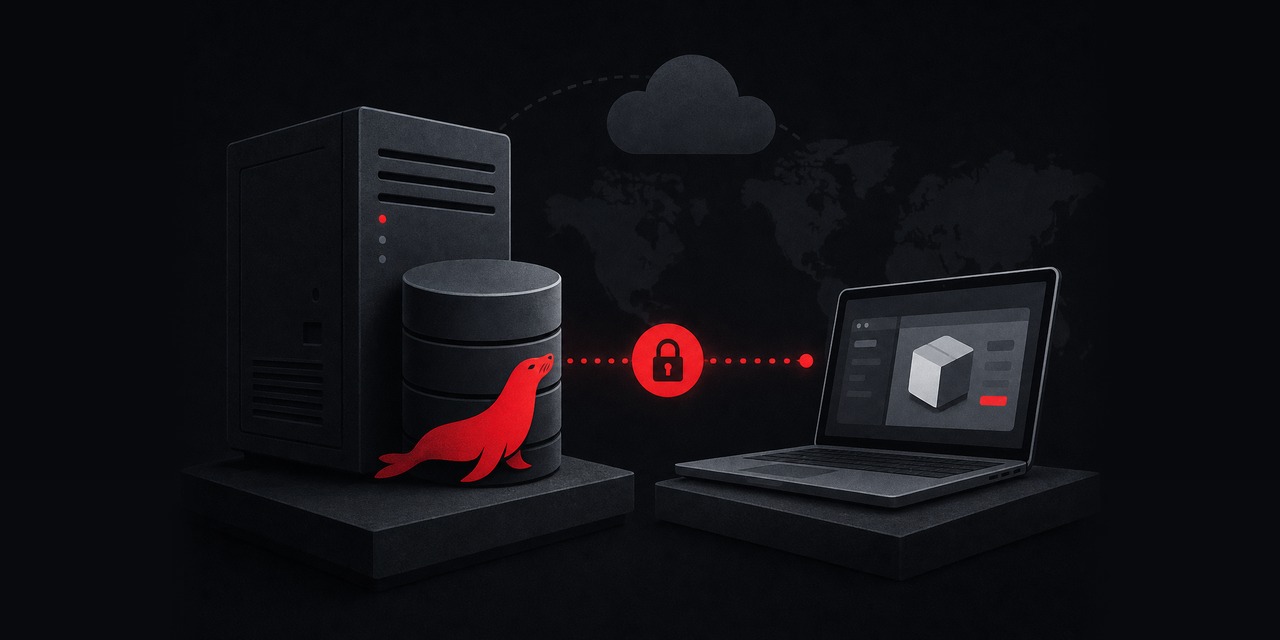
Putting MariaDB on the open internet is a reliable way to get it compromised. The safer pattern is narrower: allow remote MariaDB access only from one known server IP (your app VPS).
Add TLS and keep privileges minimal. This guide shows how to do that on Ubuntu Server, step by step.
By the end, your MariaDB server will accept encrypted connections from one trusted IP. Everyone else gets dropped at the firewall. You’ll also use a least-privilege database user built for an application—not an admin.
What you’ll build (and what you won’t)
- Build: Remote access from one app server IP to one DB server over TCP/3306 with TLS.
- Build: A dedicated MariaDB user restricted by host + database + privileges.
- Build: Firewall rules (UFW) that allow only the app VPS to reach port 3306.
- Won’t build: Public “0.0.0.0” exposure to the world, or a shared DB account.
Prerequisites
- DB server: Ubuntu 24.04 LTS or Ubuntu 22.04 LTS with MariaDB installed (we’ll install if needed).
- App server: A separate VPS where your application runs (Node.js, PHP, Python, etc.).
- One trusted source IP: The public IPv4 of your app server (or its private IP if both servers are on a private network/VPC).
- SSH access: Root or sudo on both servers.
If you want a clean two-server layout (app + DB), a HostMyCode VPS makes the split easy.
If you don’t want to own patching and hardening work long-term, managed VPS hosting is a better fit for production.
Step 1: Identify your app server IP (the only IP you’ll allow)
On your app server, confirm the public IPv4:
curl -4 ifconfig.me
Save this as APP_IP. Example: 203.0.113.10.
If both servers talk over private networking, use the private address instead. Everything below stays the same. Substitute your private APP_IP wherever it appears.
Step 2: Install MariaDB on Ubuntu (DB server)
On the DB server:
sudo apt update
sudo apt install -y mariadb-server mariadb-client
Check that MariaDB is running:
systemctl status mariadb --no-pager
You’re looking for active (running).
If it isn’t running yet:
sudo systemctl enable --now mariadb
Step 3: Basic secure setup (local hardening)
Run the standard hardening wizard. It won’t solve everything. It does remove a few common mistakes.
sudo mysql_secure_installation
- Set a root password if you use password auth for root (many Ubuntu installs use socket auth; that’s fine).
- Remove anonymous users: Yes
- Disallow remote root login: Yes
- Remove test database: Yes
- Reload privilege tables: Yes
Quick sanity check:
sudo mariadb -e "SELECT VERSION();"
Step 4: Configure bind-address (listen only where you intend)
MariaDB typically listens on localhost out of the box. Remote connections won’t work until you change that.
Be deliberate about where it listens:
- Best if you have private networking: bind to the private interface IP (not public).
- If you only have public IPs: bind to
0.0.0.0and rely on firewall rules to control access. Done correctly, this still isn’t “open to the world.”
Find the DB server’s IPs:
ip -br a
Edit the MariaDB server config. On Ubuntu, you’ll usually change:
sudo nano /etc/mysql/mariadb.conf.d/50-server.cnf
Set bind-address to one of the following:
- Private IP example:
bind-address = 10.0.0.5 - All IPv4 interfaces:
bind-address = 0.0.0.0
Also confirm the port (default 3306):
[mysqld]
bind-address = 0.0.0.0
port = 3306
Restart MariaDB:
sudo systemctl restart mariadb
Verify it’s listening where you expect:
sudo ss -lntp | grep 3306
Expected output includes LISTEN on your chosen IP or 0.0.0.0:3306.
Step 5: Create an application database and least-privilege user
Don’t point an app at root. Create a dedicated database.
Then create a user locked to your app server’s IP.
On the DB server:
sudo mariadb
Inside the MariaDB shell, replace placeholders:
-- 1) Database
CREATE DATABASE appdb CHARACTER SET utf8mb4 COLLATE utf8mb4_unicode_ci;

-- 2) User restricted by source host (APP_IP)
CREATE USER 'appuser'@'APP_IP' IDENTIFIED BY 'REPLACE_WITH_A_LONG_RANDOM_PASSWORD';

-- 3) Minimal privileges (adjust for your app)
GRANT SELECT, INSERT, UPDATE, DELETE, CREATE, ALTER, INDEX, REFERENCES
ON appdb.* TO 'appuser'@'APP_IP';

FLUSH PRIVILEGES;
Exit:
EXIT;
Verification: confirm the host restriction is in place:
sudo mariadb -e "SELECT User, Host FROM mysql.user WHERE User='appuser';"
You should see appuser with Host = APP_IP, not %.
Step 6: Add TLS so credentials aren’t sent in plain text
A tight firewall is necessary, but it isn’t the whole story. TLS protects credentials and session data from interception.
This matters even on “private” networks. Routing and peering can change over time.
On Ubuntu, a simple internal CA works well for MariaDB client/server TLS. This is not a public website certificate.
It’s a private trust chain between your app and your DB server.
6.1 Generate a CA, server cert, and client cert
On the DB server:
sudo mkdir -p /etc/mysql/tls
sudo chmod 700 /etc/mysql/tls
cd /etc/mysql/tls

# CA key + cert
sudo openssl genrsa -out ca-key.pem 4096
sudo openssl req -x509 -new -nodes -key ca-key.pem -sha256 -days 3650 \
  -subj "/CN=HostMyCode-MariaDB-CA" -out ca.pem

# Server key + CSR + cert
sudo openssl genrsa -out server-key.pem 4096
sudo openssl req -new -key server-key.pem -subj "/CN=$(hostname -f)" -out server.csr
sudo openssl x509 -req -in server.csr -CA ca.pem -CAkey ca-key.pem -CAcreateserial \
  -out server-cert.pem -days 825 -sha256

# Client key + CSR + cert (optional but recommended)
sudo openssl genrsa -out client-key.pem 4096
sudo openssl req -new -key client-key.pem -subj "/CN=appclient" -out client.csr
sudo openssl x509 -req -in client.csr -CA ca.pem -CAkey ca-key.pem -CAcreateserial \
  -out client-cert.pem -days 825 -sha256

# Tighten permissions
sudo chmod 600 *key.pem
sudo chmod 644 ca.pem *cert.pem
Common mistake: leaving private keys world-readable. MariaDB may refuse to load them.
You also turn your TLS keys into a credential leak.
6.2 Configure MariaDB to use TLS
Edit the same server config file:
sudo nano /etc/mysql/mariadb.conf.d/50-server.cnf
Add under [mysqld]:
[mysqld]
ssl-ca=/etc/mysql/tls/ca.pem
ssl-cert=/etc/mysql/tls/server-cert.pem
ssl-key=/etc/mysql/tls/server-key.pem
Restart MariaDB and confirm it loaded SSL:
sudo systemctl restart mariadb
sudo mariadb -e "SHOW VARIABLES LIKE 'have_ssl';"
sudo mariadb -e "SHOW VARIABLES LIKE 'ssl_%';"
You want have_ssl = YES and paths pointing to your certs.
6.3 Require TLS for your app user
Require encryption so the account can’t log in without TLS:
sudo mariadb -e "ALTER USER 'appuser'@'APP_IP' REQUIRE SSL;"
If you also want to require a client certificate (stronger), use:
sudo mariadb -e "ALTER USER 'appuser'@'APP_IP' REQUIRE X509;"
Note: if you enable REQUIRE X509, your app must present client-cert.pem and client-key.pem.
Step 7: Lock down port 3306 with UFW (only allow the app VPS)
This is where remote database setups usually fall apart. MariaDB listens on the network, but the firewall still allows the world.
Don’t leave that gap.
On the DB server, enable UFW if you haven’t already. Allow SSH first so you don’t lock yourself out:
sudo ufw allow OpenSSH
sudo ufw enable
sudo ufw status verbose
Now allow MariaDB only from your app server IP:
sudo ufw allow from APP_IP to any port 3306 proto tcp
Then confirm you don’t have a broad “3306 from anywhere” rule. If you do, remove it:
sudo ufw status numbered
Delete by rule number (example deletes rule 3):
sudo ufw delete 3
Verification: from a random machine (not the app VPS), a TCP connect should fail:
nc -vz DB_SERVER_IP 3306
From the app VPS, it should succeed:
nc -vz DB_SERVER_IP 3306
If you’re using a HostMyCode pair of servers, this “one IP allowed” firewall pattern is a clean default for splitting app and database tiers on a HostMyCode VPS.
Step 8: Connect from the app VPS using TLS (and test failures)
Install a MariaDB/MySQL client on the app server:
sudo apt update
sudo apt install -y mariadb-client
Copy the CA certificate (and optionally the client cert/key) from the DB server to the app server. Using scp via your workstation is often simplest.
You can also copy server → app directly if SSH policy allows it.
On the app server, create a directory:
sudo mkdir -p /etc/mariadb/tls
sudo chmod 700 /etc/mariadb/tls
Place files:
ca.pem(required)client-cert.pemandclient-key.pem(only if you usedREQUIRE X509)
Set permissions:
sudo chmod 644 /etc/mariadb/tls/ca.pem
sudo chmod 600 /etc/mariadb/tls/client-key.pem 2>/dev/null || true
sudo chmod 644 /etc/mariadb/tls/client-cert.pem 2>/dev/null || true
8.1 Test TLS connection (CA only)
Run from the app server:
mariadb \
  -h DB_SERVER_IP \
  -u appuser \
  -p \
  --ssl-ca=/etc/mariadb/tls/ca.pem \
  -D appdb \
  -e "SELECT NOW() AS connected_at, @@hostname AS db_host;"
If you required client certs:
mariadb \
  -h DB_SERVER_IP \
  -u appuser \
  -p \
  --ssl-ca=/etc/mariadb/tls/ca.pem \
  --ssl-cert=/etc/mariadb/tls/client-cert.pem \
  --ssl-key=/etc/mariadb/tls/client-key.pem \
  -D appdb \
  -e "STATUS;"
Verification inside MariaDB: confirm the session is encrypted:
mariadb -h DB_SERVER_IP -u appuser -p \
  --ssl-ca=/etc/mariadb/tls/ca.pem \
  -e "SHOW STATUS LIKE 'Ssl_cipher';"
You want a non-empty cipher value (for example, TLS_AES_256_GCM_SHA384).
8.2 Prove your protections work (intentional failures)
- Firewall test: try connecting from a different IP; it should time out or refuse.
- User host restriction test: temporarily allow your laptop IP in UFW and try to connect; MariaDB should deny with
Access denied for user 'appuser'@'your_ip'. - TLS enforcement test: run the client command without
--ssl-ca; it should fail if you usedREQUIRE SSLand your client cannot establish TLS.
Step 9: Drop connection details into your application safely
Keep credentials out of your repo. Use environment variables or a secrets file that only the app service user can read.
Example .env pattern:
DB_HOST=DB_SERVER_IP
DB_PORT=3306
DB_NAME=appdb
DB_USER=appuser
DB_PASSWORD=REPLACE_WITH_A_LONG_RANDOM_PASSWORD
DB_SSL_CA=/etc/mariadb/tls/ca.pem
If you required X509, add:
DB_SSL_CERT=/etc/mariadb/tls/client-cert.pem
DB_SSL_KEY=/etc/mariadb/tls/client-key.pem
Common mistake: opening 3306 to “anywhere” because the app runs in Docker and connectivity debugging feels urgent.
Fix the Docker networking (or the host routing) instead. Don’t widen the blast radius.
Step 10: Operational checks you’ll care about later
Remote access adds a few day-2 tasks. Bake them in now to avoid surprises later.
Check active connections and errors
On the DB server:
sudo mariadb -e "SHOW PROCESSLIST;"
To watch auth/network errors in logs:
sudo journalctl -u mariadb -n 200 --no-pager
Confirm you’re not accidentally exposing MariaDB
From the DB server, list UFW rules. Confirm only one source IP is allowed:
sudo ufw status verbose
Also confirm the service is bound as expected:
sudo ss -lntp | awk '$4 ~ /:3306$/ {print}'
Backups: don’t ship remote access without a restore test
Once your app depends on a remote database, restores stop being optional. Set up automated dumps.
Then practice restoring them until it’s boring.
HostMyCode has a walkthrough here: Set Up Automatic MySQL Backups With Tested Restores.
Common mistakes (quick fixes)
- “Access denied for user 'appuser'@'x.x.x.x'”
Make sure the MariaDB user host matches the app server IP exactly. NAT can change the source IP. Check logs andSHOW PROCESSLIST. - Client connects locally but not remotely
Checkbind-addressand confirmss -lntpshows MariaDB listening on the right interface. - Port 3306 reachable from everywhere
Fix UFW rules. You wantallow from APP_IP, not a generic3306/tcp ALLOW Anywhere. - TLS errors after enabling REQUIRE X509
Copyclient-cert.pemandclient-key.pemto the app server and point your client/app to them. Also confirm file permissions allow the app to read the key. - App uses
rootbecause “it’s easier”
Create a new user with minimal privileges. If your app is compromised, root turns a small incident into full data loss.
Related tutorials that pair well with this setup
- If you also need failover, follow Set Up MariaDB Replication on a VPS for Failover.
- For a stronger perimeter on Ubuntu, combine this with Set Up Fail2ban for Nginx on Ubuntu VPS (especially if your app server also runs Nginx).
- If your deployments are Git-based and you want push-to-deploy on your app VPS, see Install Coolify on a VPS for Git-Based App Deploys.
Summary: the safe way to allow remote database access
To allow remote MariaDB access without ending up with a public database, you used four controls together.
You set a deliberate listen address. You restricted users by host. You required TLS. You added a firewall rule that admits exactly one trusted IP.
That combination stays solid even as your app stack changes.
If you’re putting this into production and want clean network separation (plus the option to scale the database independently), start with a HostMyCode VPS.
If you’d rather hand off patch windows, monitoring, and baseline security work, managed VPS hosting is the practical upgrade.
Need an app+database split you can keep stable over time? HostMyCode offers VPS plans sized for two-tier deployments, and you can move existing sites with minimal downtime using our migration help. If your database is production-critical, consider managed VPS hosting so updates, monitoring, and security baselines stay current.
FAQ
Should I bind MariaDB to 0.0.0.0 or a private IP?
If you have private networking between servers, bind to the private IP. If you only have public IPs, 0.0.0.0 is acceptable if (and only if) UFW restricts port 3306 to your app server IP.
Is “REQUIRE SSL” enough, or should I use “REQUIRE X509”?
REQUIRE SSL forces encryption but doesn’t prove the client identity beyond username/password. REQUIRE X509 adds client certificates, which helps when you want an extra factor at the database layer.
Do I need to open 3306 if my app and DB run on the same server?
No. Keep MariaDB bound to 127.0.0.1 and connect over localhost or a Unix socket. Remote exposure only makes sense when the application runs elsewhere.
Can I allow remote MariaDB access from multiple app servers?
Yes, but keep it explicit. Create separate users like 'appuser'@'IP1' and 'appuser'@'IP2' (or distinct usernames), and add matching UFW rules. Avoid '%' unless you truly need it and have compensating controls.
What’s the quickest way to confirm the connection is encrypted?
From the app server, connect with --ssl-ca, then run SHOW STATUS LIKE 'Ssl_cipher';. If the value is non-empty, TLS is active for that session.