
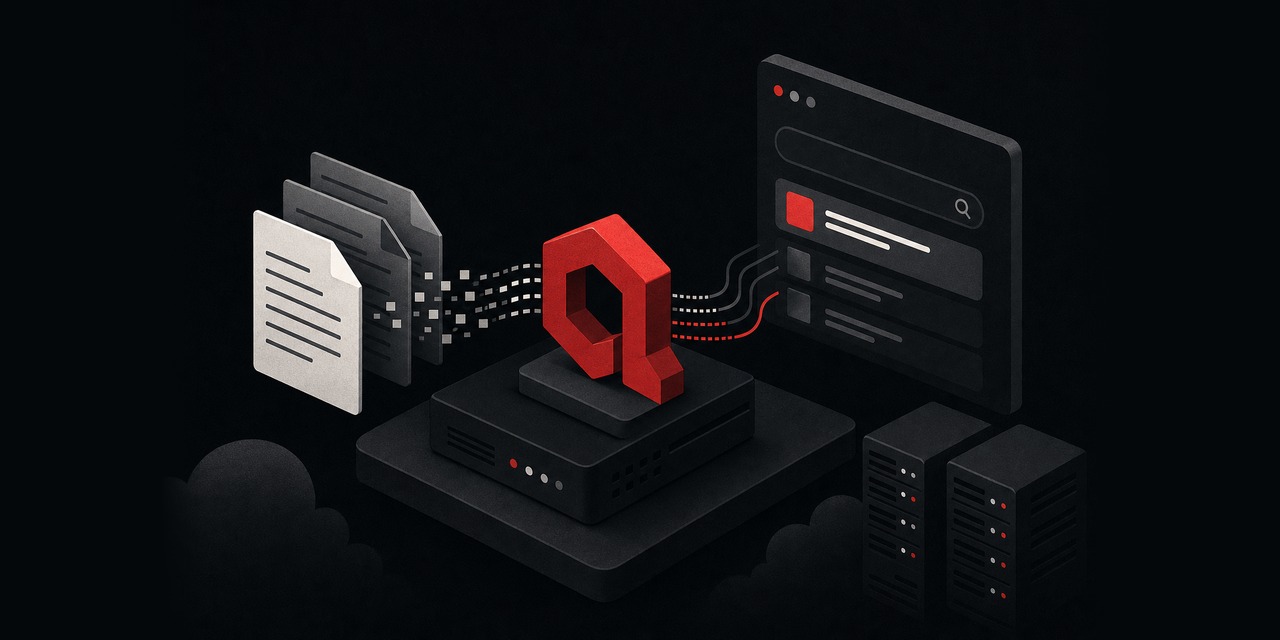
You don’t need a full cloud AI platform to run “chat with docs” reliably. You can set up Qdrant RAG on a VPS and keep your knowledge base, embeddings, and chat history on infrastructure you control.
This setup works well for internal SOPs, customer documentation, runbooks, and any content you don’t want leaving your environment.
This walkthrough uses a focused stack: Qdrant for vector search, Open WebUI for the chat interface, and Ollama for the local model runtime. You’ll deploy everything with Docker, persist data on disk, and set up a repeatable document ingestion routine.
You’ll also add TLS and basic access controls in front of the UI.
Architecture: what you’re building (and what it isn’t)
You’ll run three services:
- Qdrant: stores vectors and payload metadata, and handles similarity search.
- Ollama: serves your local models for chat (and often embeddings, depending on your setup).
- Open WebUI: the chat UI, user auth, and the “knowledge” feature that runs retrieval (RAG) using Qdrant.
A quick reality check: RAG can anchor answers in your documents. It won’t rescue a model that can’t follow instructions or summarize well.
Retrieval helps, but model quality still matters.
Prerequisites and sizing (CPU/RAM/disk)
This guide assumes Ubuntu Server on a VPS. Debian is similar.
You’ll need:
- OS: Ubuntu 24.04 LTS or Ubuntu 22.04 LTS
- Access: root or sudo user, inbound TCP 80/443 allowed
- Software: Docker Engine + Docker Compose plugin
- DNS: a hostname (recommended) like
rag.example.com
Practical sizing for a docs chatbot:
- Minimum (small docs set): 4 vCPU, 8 GB RAM, 80+ GB NVMe. Fine for light use and smaller models.
- Comfortable (most teams): 8 vCPU, 16 GB RAM, 160+ GB NVMe. Better concurrency and fewer slowdowns during ingestion.
- GPU: optional. Helpful for higher QPS or larger models, but not required to get this working. Start CPU-only, then scale.
If you want a clean platform baseline for this project, a HostMyCode VPS with NVMe storage is a straightforward fit.
If you’d rather not spend time on patching and hardening, managed VPS hosting keeps the ops burden lower.
Step 1: Prepare the VPS (updates, firewall, directories)
Update packages and install the basics:
sudo apt update && sudo apt -y upgrade
sudo apt -y install ca-certificates curl gnupg ufw
Enable UFW and allow only SSH plus web traffic.
If you use a non-standard SSH port, adjust the rule.
sudo ufw allow OpenSSH
sudo ufw allow 80/tcp
sudo ufw allow 443/tcp
sudo ufw enable
Create a working directory and the persistent storage paths you’ll mount into containers:
sudo mkdir -p /opt/rag/{qdrant_storage,openwebui_data,ingest}
sudo chown -R $USER:$USER /opt/rag
Step 2: Install Docker (Engine + Compose plugin)
If Docker isn’t installed, use the official repo. On Ubuntu:
sudo install -m 0755 -d /etc/apt/keyrings
curl -fsSL https://download.docker.com/linux/ubuntu/gpg | sudo gpg --dearmor -o /etc/apt/keyrings/docker.gpg
sudo chmod a+r /etc/apt/keyrings/docker.gpg

echo \
  "deb [arch=$(dpkg --print-architecture) signed-by=/etc/apt/keyrings/docker.gpg] https://download.docker.com/linux/ubuntu \
  $(. /etc/os-release && echo $VERSION_CODENAME) stable" | \
  sudo tee /etc/apt/sources.list.d/docker.list > /dev/null

sudo apt update
sudo apt -y install docker-ce docker-ce-cli containerd.io docker-buildx-plugin docker-compose-plugin
Add your user to the docker group.
Then log out and back in:
sudo usermod -aG docker $USERStep 3: Deploy Qdrant + Ollama + Open WebUI with Docker Compose
Create /opt/rag/docker-compose.yml:
cd /opt/rag
nano docker-compose.yml
Paste this Compose file (CPU-only, persistent volumes, and ports bound to localhost):
services:
  qdrant:
    image: qdrant/qdrant:latest
    container_name: qdrant
    restart: unless-stopped
    volumes:
      - /opt/rag/qdrant_storage:/qdrant/storage
    environment:
      # Optional: you can set QDRANT__SERVICE__API_KEY later and enforce it behind a reverse proxy.
      - QDRANT__LOG_LEVEL=INFO
    ports:
      # Keep internal-only in production by removing this publish and using a Docker network + reverse proxy.
      - "127.0.0.1:6333:6333"

  ollama:
    image: ollama/ollama:latest
    container_name: ollama
    restart: unless-stopped
    volumes:
      - /opt/rag/ollama:/root/.ollama
    ports:
      - "127.0.0.1:11434:11434"

  openwebui:
    image: ghcr.io/open-webui/open-webui:main
    container_name: openwebui
    restart: unless-stopped
    depends_on:
      - qdrant
      - ollama
    environment:
      - OLLAMA_BASE_URL=http://ollama:11434
      # Qdrant URL used by Open WebUI knowledge/RAG connectors
      - QDRANT_URL=http://qdrant:6333
      # First user becomes admin; set to false if you prefer invite-only later
      - WEBUI_AUTH=true
    volumes:
      - /opt/rag/openwebui_data:/app/backend/data
    ports:
      - "127.0.0.1:3000:8080"
Start the stack:
docker compose up -d
docker compose ps
Run quick health checks from the VPS:
curl -s http://127.0.0.1:6333/healthz
curl -s http://127.0.0.1:11434/api/tags
curl -sI http://127.0.0.1:3000/ | head
If you want a Qdrant-only reference (storage layout, ports, Docker patterns), this guide is a good cross-check: Host Qdrant on a VPS for RAG search with Docker.
Step 4: Put Nginx in front with TLS (so you can expose it safely)
Right now, everything binds to 127.0.0.1. That’s what you want on a public VPS.
Next, expose only Open WebUI through Nginx. Then add a Let’s Encrypt certificate.
Install Nginx + Certbot:
sudo apt -y install nginx certbot python3-certbot-nginxCreate an Nginx server block for rag.example.com (replace the domain):
sudo nano /etc/nginx/sites-available/ragserver {
listen 80;
server_name rag.example.com;
location / {
proxy_pass http://127.0.0.1:3000;
proxy_set_header Host $host;
proxy_set_header X-Real-IP $remote_addr;
proxy_set_header X-Forwarded-For $proxy_add_x_forwarded_for;
proxy_set_header X-Forwarded-Proto $scheme;
# WebSocket support
proxy_http_version 1.1;
proxy_set_header Upgrade $http_upgrade;
proxy_set_header Connection "upgrade";
}
}Enable the site and test the config:
sudo ln -s /etc/nginx/sites-available/rag /etc/nginx/sites-enabled/rag
sudo nginx -t
sudo systemctl reload nginx
Issue the certificate:
sudo certbot --nginx -d rag.example.comNow open https://rag.example.com and create the first account yourself.
In most default setups, the first registered user becomes admin.
If you prefer wildcard certs or need DNS validation, follow: Add Let’s Encrypt wildcard SSL with DNS validation.
Step 5: Pull a model in Ollama (chat + embeddings)
You’re configuring two model roles:
- Chat model for responses
- Embedding model to convert documents into vectors for Qdrant
A common approach is to keep embeddings small and fast. Then pick a chat model that matches your latency and quality targets.
On a CPU VPS, smaller models usually feel better.
Enter the Ollama container and pull the models:
docker exec -it ollama bash
ollama pull llama3
ollama pull nomic-embed-text
exit
If llama3 is too heavy for your VPS, switch to a smaller chat model available in your environment. Keep the embedding model as-is.
CPU inference works for internal tools, but it won’t handle high throughput.
For model sizing and quantization trade-offs, see: llama.cpp quantization: pick Q4 vs Q5 vs Q8. The same “smaller is faster” rule applies to Ollama deployments.
Step 6: Configure Open WebUI to use Ollama and Qdrant
Log in to Open WebUI as admin. Confirm these basics:
- Models: your Ollama models should appear (for example
llama3). - Knowledge / RAG: set the embedding model to
nomic-embed-text(or your preferred embeddings model). - Vector database: select Qdrant and verify it’s reachable at
http://qdrant:6333from the container network.
If embeddings fail, it usually comes down to one of these:
- Ollama doesn’t have the embedding model pulled yet.
- Open WebUI is pointing to
http://127.0.0.1:11434instead ofhttp://ollama:11434(container networking). - Your VPS runs out of RAM and the kernel kills a process. Check
dmesg -T | tail.
Step 7: Create a knowledge base and ingest documents (repeatable workflow)
This is what makes RAG useful. You’ll stage docs in a directory on the VPS.
Then you’ll ingest them into a knowledge collection. This also makes re-ingestion simple when content changes.
Prepare your docs in /opt/rag/ingest. Start with simple formats: Markdown, TXT, or a small set of PDFs.
mkdir -p /opt/rag/ingest
nano /opt/rag/ingest/runbook.md
Use real material: SOP steps, command sequences, escalation paths, and “what good looks like.”
Retrieval quality tracks the structure and clarity of the source text.
Ingest using Open WebUI’s knowledge feature. In the UI:
- Create a new knowledge collection (name it
ops-runbooks). - Upload files directly, or connect to a source if your Open WebUI build supports it.
- Choose the embedding model (for example
nomic-embed-text).
UI uploads work for small sets. The friction starts when you need a repeatable, auditable routine.
The two patterns below cover most teams.
Option A (practical): keep docs in Git and re-upload on change
Store docs in a private repo (or an internal Git server). On the VPS, sync them into /opt/rag/ingest:
cd /opt/rag/ingest
git clone ssh://git@your-git-server/ops/runbooks.git .
When docs change:
cd /opt/rag/ingest
git pull
Then re-upload the changed files into the Open WebUI knowledge collection.
It’s manual, but it’s predictable and easy to audit.
Option B (more automated): ingestion job that pushes chunks to Qdrant
If you need automation, add a small ingestion script that:
- reads files from
/opt/rag/ingest - splits them into chunks (by headings / paragraphs)
- calls the embeddings endpoint
- upserts vectors into Qdrant with payload metadata
The exact API paths and payload shapes depend on your tooling.
If you want this style of automation with a UI, n8n is a common option.
Keep it on the same VPS network. Don’t expose it publicly without authentication.
Step 8: Verify retrieval works (a simple operator test)
Do a controlled test so you can separate retrieval from guessing:
- Add a unique string to a doc, like
INCIDENT-CODE: 7H3-ALPHA. - Re-ingest that doc into your knowledge base.
- Ask Open WebUI: “What is the INCIDENT-CODE?”
If retrieval is working, the answer should include the exact token.
If it doesn’t:
- Make sure the chat is actually linked to the knowledge collection.
- Double-check the embedding model selection.
- Check logs:
docker logs openwebui --tail=200anddocker logs qdrant --tail=200.
Step 9: Secure the endpoint (minimum viable hardening)
RAG stacks tend to accumulate sensitive text quickly. Treat this like an internal admin panel, not a public site.
- Keep Qdrant and Ollama private: in this tutorial they bind to
127.0.0.1. Don’t publish them to the internet. - Require auth in Open WebUI: keep
WEBUI_AUTH=true, and disable public signups if the UI supports it. - Add Nginx basic auth for an extra gate if you’re exposing the UI over the public internet.
To add basic auth in Nginx:
sudo apt -y install apache2-utils
sudo htpasswd -c /etc/nginx/.htpasswd ragadmin
Edit the Nginx site and add these lines inside location /:
auth_basic "Restricted";
auth_basic_user_file /etc/nginx/.htpasswd;
Reload Nginx:
sudo nginx -t && sudo systemctl reload nginxFor brute-force protection on public endpoints, Fail2ban is still a sensible layer.
For a clean Ubuntu baseline for Nginx jails, use: Set up Fail2ban for Nginx on Ubuntu VPS.
Step 10: Backups and upgrades (don’t skip this)
Most of what you care about lives in these volumes:
/opt/rag/qdrant_storage(vectors + payloads)/opt/rag/openwebui_data(users, chats, config)/opt/rag/ollama(downloaded models)
Back up Qdrant storage and Open WebUI data at minimum. Ollama models are large and can be re-downloaded.
If storage is tight, treat Ollama models as optional for backups.
Here’s a simple nightly tar backup to another disk (offsite is better):
sudo mkdir -p /var/backups/rag
sudo nano /etc/cron.daily/rag-backup
#!/bin/sh
set -eu
TS=$(date +%F)
DEST=/var/backups/rag
tar -C /opt/rag -czf $DEST/qdrant_storage-$TS.tgz qdrant_storage
tar -C /opt/rag -czf $DEST/openwebui_data-$TS.tgz openwebui_datasudo chmod +x /etc/cron.daily/rag-backupFor upgrades, pull images and restart during a maintenance window:
cd /opt/rag
docker compose pull
docker compose up -d
After upgrading, verify services come back cleanly:
docker compose ps
curl -s http://127.0.0.1:6333/healthz
Troubleshooting: common breakpoints on a VPS
- Slow responses: CPU inference is usually the bottleneck. Use a smaller model, reduce context length, or move inference to a GPU node.
- OOM / container restarts: watch
free -handdmesg -T | tail. Add RAM or enable swap cautiously. - Embeddings fail: confirm the embeddings model exists in Ollama and Open WebUI uses
http://ollama:11434. - RAG returns irrelevant chunks: chunks are too large or the docs are poorly segmented. Split by headings and keep sections tight.
- Disk fills up: Qdrant storage grows with document count; Ollama models are big. Keep an eye on
df -h.
Summary: set up Qdrant RAG on a VPS without a cloud dependency
You now have Qdrant, Ollama, and Open WebUI running on a VPS with persistent storage and TLS.
From here, the work is mostly operational: keep docs well-structured, re-ingest after changes, and choose a model that matches your latency and budget.
If you outgrow CPU inference or need more concurrent users, keep Qdrant + Open WebUI in place. Then move the model runtime to a larger node later (or a GPU machine). Just keep access private.
For teams running this in production, start with a HostMyCode VPS for control and predictable cost.
If you’d rather have the OS maintenance and security baseline handled for you, managed VPS hosting is the cleaner long-term option.
If you’re building a private docs assistant, prioritize boring reliability: steady disk performance, predictable RAM, and a host that won’t surprise you. Start with a HostMyCode VPS for Qdrant + Open WebUI, then scale up as your document library and user count grow. If you want help with hardening and ongoing maintenance, managed VPS hosting keeps the stack stable without turning it into another internal project.
FAQ
Do I need a GPU to run RAG with Qdrant and Open WebUI?
No. Qdrant runs well on CPU, and RAG retrieval is typically fast. The slow part is LLM inference.
For light internal usage, CPU-only works if you keep the model modest.
How much disk space should I plan for?
Plan for your Ollama models first (they can consume tens of GB), then Qdrant storage growth.
For a small team, 80–160 GB NVMe is a practical starting point.
Should I expose Qdrant to the internet?
Usually, no. Keep Qdrant bound to localhost (or an internal Docker network).
Only expose Open WebUI through Nginx with TLS and authentication.
What’s the simplest ingestion workflow that doesn’t break?
Keep docs in Git, sync them onto the VPS, and re-upload/re-ingest in Open WebUI when they change.
It’s not fully automated, but it’s predictable and auditable.
Can I use Qdrant with another UI later?
Yes. Qdrant is just the vector database.
You can switch the chat frontend or orchestration layer later without rethinking your infrastructure, as long as you keep your collections and payload metadata consistent.