
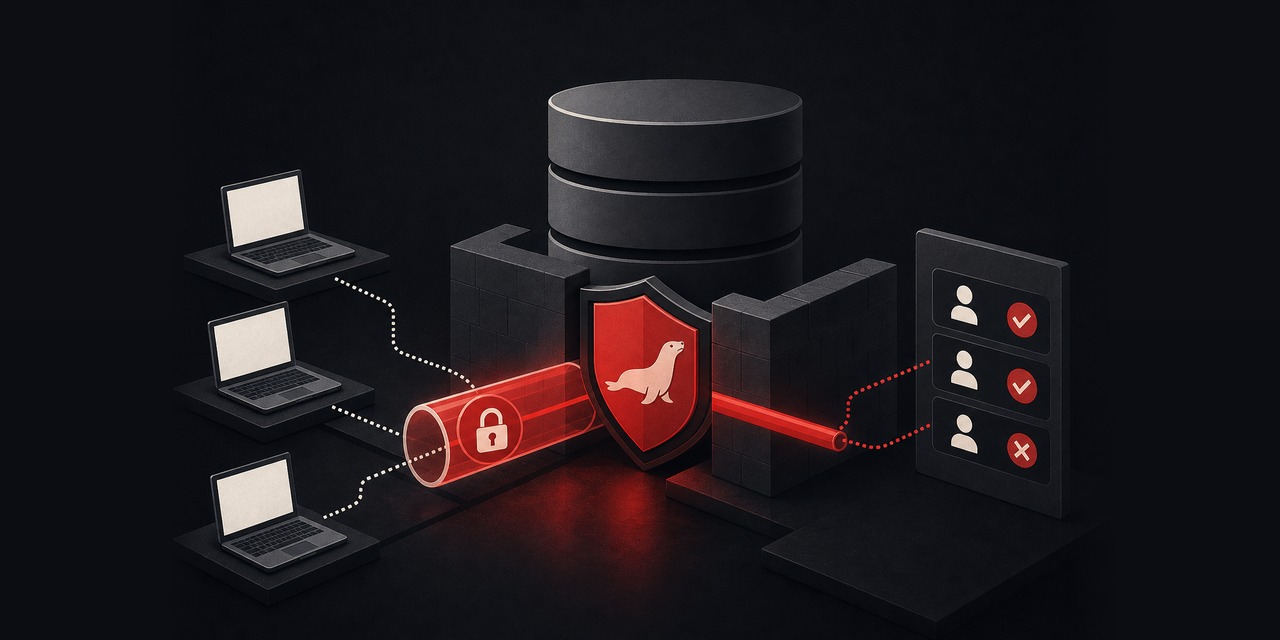
You don’t “enable MariaDB remote access” and call it done. You decide who can connect, from where, and how. That means encryption, authentication, and audit-friendly controls.
This walkthrough builds a production-style setup on a VPS or dedicated server. You’ll configure binding, firewall allowlists, TLS, and least-privilege grants. The goal is remote connectivity without turning port 3306 into a public doorway.
This guide assumes MariaDB 10.11 LTS or 11.x on Ubuntu 24.04/26.04, Debian 12/13, AlmaLinux 9/10, or Rocky Linux 9/10. Commands are written for root or a sudo-capable user.
What you’ll build (and what you won’t)
- Allowed: Your app server(s) can reach MariaDB over TCP using TLS.
- Blocked: Random hosts on the internet can’t hit 3306.
- Controlled: Users are scoped to a database and host/IP, not “%”.
- Verified: You’ll test from a remote client and prove TLS is active.
If you don’t have a server yet, do this on a small HostMyCode VPS. If you’d rather not babysit database hardening and patch cadence yourself, managed VPS hosting is a better match for production workloads.
Prerequisites and a quick safety checklist
- A working MariaDB instance (local connections succeed).
- Static public IPs (or known private IPs) for the client/app server(s).
- Root/sudo access to the DB server and the client server.
- Plan to use a private network or a VPN if you have one. Public internet is fine only with strict source IP allowlists.
Decide this up front: will your app connect from one fixed server IP (best), or from changing addresses (worst)?
If the client IP changes, don’t “solve” it with wider firewall rules. Use a VPN or a tunnel instead. (HostMyCode customers often run the DB on one VPS and the app on another; stable IPs make the security story much simpler.)
Step 1: Confirm MariaDB is listening only where you expect
Start by checking what address MariaDB is bound to. Fresh installs often bind to 127.0.0.1, which is local-only by design.
ss -lntp | grep -E ':(3306|33060)\b' || true
You’ll typically see either:
127.0.0.1:3306(local-only), or0.0.0.0:3306/:::3306(all interfaces; avoid unless your firewall rules are airtight).
Also confirm the server’s IPs. You’ll use them for binding and firewall rules.
ip -br a
Step 2: Set bind-address (don’t bind to the world by accident)
Find the active MariaDB config path.
On Ubuntu/Debian, you’ll usually edit /etc/mysql/mariadb.conf.d/50-server.cnf. On AlmaLinux/Rocky, it’s commonly /etc/my.cnf.d/mariadb-server.cnf or /etc/my.cnf.
Locate the file with [mysqld]. Then set bind-address on purpose:
- If the DB should only be reachable from a private interface: bind to that private IP (recommended).
- If it must be reachable via a public IP: bind to the public IP, not
0.0.0.0.
Ubuntu/Debian example:
sudo nano /etc/mysql/mariadb.conf.d/50-server.cnf
Under [mysqld]:
[mysqld]
bind-address = 203.0.113.10
# or bind-address = 10.0.0.5 (private VLAN/VPN IP)
AlmaLinux/Rocky example:
sudo nano /etc/my.cnf.d/mariadb-server.cnf
Restart and confirm the new listen socket:
sudo systemctl restart mariadb
sudo systemctl status mariadb --no-pager
ss -lntp | grep -E ':(3306)\b'
Common mistake: setting bind-address=0.0.0.0 and hoping “the firewall will handle it.” The firewall can help, but you still expanded the exposed surface.
Binding to one interface keeps the blast radius small.
Step 3: Open the firewall only for known client IPs
MariaDB remote access should not mean “port 3306 open to everyone.” Allow only the application server IP(s).
If you have multiple app nodes, add them one by one.
Ubuntu/Debian (UFW)
sudo ufw status verbose

# Allow MariaDB only from your app server public IP
sudo ufw allow from 198.51.100.25 to any port 3306 proto tcp

# Optional: deny everything else explicitly (UFW default is usually deny incoming)
sudo ufw deny 3306/tcp

sudo ufw reload
sudo ufw status numbered
AlmaLinux/Rocky (firewalld)
sudo firewall-cmd --state

# Allow only from the app server IP
sudo firewall-cmd --permanent \
  --add-rich-rule='rule family="ipv4" source address="198.51.100.25/32" port port="3306" protocol="tcp" accept'

# Ensure you did NOT add mariadb service globally
sudo firewall-cmd --permanent --remove-service=mariadb 2>/dev/null || true

sudo firewall-cmd --reload
sudo firewall-cmd --list-all
Verify from a machine that is NOT allowed: the port should look closed/filtered.
nc -vz 203.0.113.10 3306
Verify from the allowed app server: you should at least reach the TCP port.
nc -vz 203.0.113.10 3306
If you want a broader hardening pass after this tutorial, pair it with this Fail2ban setup (for your web layer) and keep SSH access tight.
If your firewall sources are strict, database brute force is less of a concern than everything else on the box.
Step 4: Create a least-privilege user with host-scoped grants
Next, define who can log in remotely. Don’t reuse root.
Also avoid ALL PRIVILEGES unless you’ve confirmed the app truly needs them.
Log into MariaDB locally on the DB server:
sudo mariadb
Create a database and an app user restricted to the app server’s IP. Replace values:
CREATE DATABASE appdb CHARACTER SET utf8mb4 COLLATE utf8mb4_unicode_ci;

CREATE USER 'appuser'@'198.51.100.25' IDENTIFIED BY 'REPLACE_WITH_LONG_RANDOM_PASSWORD';

GRANT SELECT, INSERT, UPDATE, DELETE, CREATE, INDEX, ALTER
ON appdb.* TO 'appuser'@'198.51.100.25';

FLUSH PRIVILEGES;
Confirm what MariaDB stored:
SHOW GRANTS FOR 'appuser'@'198.51.100.25';
Common mistakes that cause “Access denied”:
- Starting with
'appuser'@'%'. It “works,” but it’s a wide-open default. - Forgetting that host is part of the identity.
appuser@1.2.3.4is a different account thanappuser@%. - Testing from a NATed IP that doesn’t match the grant. Check the client’s egress IP.
Step 5: Turn on TLS for MariaDB remote access (server-side)
Passwords don’t protect the wire. TLS does.
TLS prevents credential sniffing and shuts down the “someone is watching the network” class of problems. In 2026, encrypted database connections should be your default, not an add-on.
You have two solid options:
- Server-only TLS: encrypts traffic and lets clients validate the server certificate. Most applications can do this with minimal changes.
- Mutual TLS (mTLS): clients also present a certificate. Stronger, but it adds client certificate lifecycle work.
This tutorial sets up server TLS first. Then it shows how to require client certs if you want them.
Create a small internal CA + server certificate
On the DB server:
sudo mkdir -p /etc/mysql/tls
sudo chmod 700 /etc/mysql/tls
cd /etc/mysql/tls
Create a CA key and cert (valid for ~10 years). Use a CN that you’ll recognize later:
sudo openssl genrsa -out ca-key.pem 4096
sudo openssl req -x509 -new -nodes -key ca-key.pem -sha256 -days 3650 \
  -subj "/CN=hostmycode-internal-mariadb-ca" \
  -out ca.pem
Create the server key and CSR. Set CN to the DB server hostname (or a stable DNS name you control):
sudo openssl genrsa -out server-key.pem 4096
sudo openssl req -new -key server-key.pem \
  -subj "/CN=db1.example.com" \
  -out server.csr
Add SANs. Include the DB server IP your apps connect to, plus any DNS name you’ll use:
cat | sudo tee server-ext.cnf >/dev/null <<EOF
subjectAltName = @alt_names
extendedKeyUsage = serverAuth

[alt_names]
DNS.1 = db1.example.com
IP.1 = 203.0.113.10
EOF
Sign the server certificate with your CA:
sudo openssl x509 -req -in server.csr -CA ca.pem -CAkey ca-key.pem -CAcreateserial \
  -out server-cert.pem -days 825 -sha256 -extfile server-ext.cnf
Lock down permissions so only mysql can read private keys:
sudo chown -R mysql:mysql /etc/mysql/tls
sudo chmod 600 /etc/mysql/tls/*-key.pem
Configure MariaDB to use the certs
Edit your server config (the same file you used for bind-address). Then add:
[mysqld]
ssl_ca   = /etc/mysql/tls/ca.pem
ssl_cert = /etc/mysql/tls/server-cert.pem
ssl_key  = /etc/mysql/tls/server-key.pem

# Optional hardening (safe for most setups)
# require_secure_transport = ON
Restart MariaDB:
sudo systemctl restart mariadb
Verify TLS variables from a local MariaDB shell:
sudo mariadb -e "SHOW VARIABLES LIKE 'have_ssl'; SHOW VARIABLES LIKE 'ssl_%';"
You want have_ssl to be YES. The file paths should match what you configured.
Pitfall: if MariaDB fails to restart, go straight to the logs:
sudo journalctl -u mariadb --since "10 min ago" --no-pager
Step 6: Force encrypted connections (the clean way)
You can enforce TLS in two places:
- At the server:
require_secure_transport=ONblocks non-TLS TCP clients across the board. - Per user:
REQUIRE SSL(orREQUIRE X509for mTLS) prevents accidental plaintext for specific accounts.
For most stacks, use both. That way a misconfigured client can’t quietly fall back to plaintext.
In MariaDB shell:
ALTER USER 'appuser'@'198.51.100.25' REQUIRE SSL;
FLUSH PRIVILEGES;
At this point, a non-TLS connection using that account should fail.
Step 7: Connect from the remote app server and verify TLS is active
On the app server, install the MariaDB client tools if needed.
Ubuntu/Debian client
sudo apt update
sudo apt install -y mariadb-client
AlmaLinux/Rocky client
sudo dnf install -y mariadb
Copy the CA certificate (ca.pem) from the DB server to the app server. Use a secure copy method like scp over SSH:
scp root@203.0.113.10:/etc/mysql/tls/ca.pem ~/mariadb-ca.pem
Test a TLS connection (replace host/user/db):
mariadb \
  --host=203.0.113.10 \
  --user=appuser \
  --password \
  --database=appdb \
  --ssl-ca=$HOME/mariadb-ca.pem \
  --ssl-verify-server-cert \
  -e "STATUS;"
In the output, look for a line like SSL: Cipher in use is .... That confirms the connection negotiated TLS.
If you get “TLS/SSL error: self-signed certificate”, that’s normal unless you pass the CA with --ssl-ca. The client can’t verify a certificate chain it doesn’t trust.
If you get “Access denied”, verify all three of these line up:
- Client source IP matches the user host part (
'appuser'@'198.51.100.25') - Password matches
- Firewall rule allows the client to reach port 3306
Step 8 (optional): Use mutual TLS for high-risk deployments
If the database holds sensitive customer data and you want stronger client authentication than “password only,” mTLS is worth considering.
With mTLS enabled, MariaDB will require a client certificate signed by your CA.
On the DB server, generate a client certificate:
cd /etc/mysql/tls

sudo openssl genrsa -out client-key.pem 4096
sudo openssl req -new -key client-key.pem -subj "/CN=appserver-01" -out client.csr

cat | sudo tee client-ext.cnf >/dev/null <<EOF
extendedKeyUsage = clientAuth
EOF

sudo openssl x509 -req -in client.csr -CA ca.pem -CAkey ca-key.pem -CAcreateserial \
  -out client-cert.pem -days 825 -sha256 -extfile client-ext.cnf
Copy client-cert.pem and client-key.pem to the app server (protect the key):
scp root@203.0.113.10:/etc/mysql/tls/client-cert.pem ~/
scp root@203.0.113.10:/etc/mysql/tls/client-key.pem ~/
chmod 600 ~/client-key.pem
Require X509 for the app user:
sudo mariadb -e "ALTER USER 'appuser'@'198.51.100.25' REQUIRE X509; FLUSH PRIVILEGES;"
Connect with client certs:
mariadb \
  --host=203.0.113.10 \
  --user=appuser \
  --password \
  --database=appdb \
  --ssl-ca=$HOME/mariadb-ca.pem \
  --ssl-cert=$HOME/client-cert.pem \
  --ssl-key=$HOME/client-key.pem \
  --ssl-verify-server-cert \
  -e "SELECT NOW();"
Step 9: Keep it from becoming “a database on the internet”
Once remote connectivity works, teams tend to reuse it for everything. That includes laptop access, coworker Wi-Fi, ad-hoc CI runners, and “quick checks.”
Allowlists then grow until they stop meaning anything.
- Prefer a bastion: SSH to the app server or bastion, then connect to MariaDB from there.
- Keep the allowlist small: one or two IPs, not whole subnets.
- Don’t expose phpMyAdmin publicly just to “check the DB.” Use CLI or a VPN.
If you’re deploying apps with Docker Compose, keep your database private. Front only web services with a reverse proxy.
HostMyCode has a practical Compose update workflow in this Watchtower tutorial. Use it to keep app containers patched without increasing database exposure.
Step 10: Add a tested backup + restore loop (don’t skip this)
This is where security and availability meet. Tighten access too aggressively and you can lock yourself out. Break TLS and the app goes dark.
Tested restores are how you recover without guessing.
HostMyCode already has a full end-to-end workflow you can follow: automatic MySQL/MariaDB backups with tested restores. Use that approach even if you later move to physical backups.
Quick local sanity check (manual backup):
mysqldump -u root -p --single-transaction --routines --triggers appdb | gzip > /root/appdb.sql.gz
gzip -t /root/appdb.sql.gz
And a quick restore test (to a new DB):
sudo mariadb -e "CREATE DATABASE appdb_restore_test;"

gunzip -c /root/appdb.sql.gz | sudo mariadb appdb_restore_test

sudo mariadb -e "SHOW TABLES FROM appdb_restore_test;"
Step 11: Troubleshooting quick hits (what usually goes wrong)
- Can’t connect (timeout): firewall doesn’t allow 3306 from the client IP, or MariaDB bound to the wrong address. Check
ss -lntpand firewall rules. - “Host is not allowed to connect”: no matching
user@hostentry. CheckSELECT user, host FROM mysql.user WHERE user='appuser'; - TLS works locally but not remotely: client missing CA file, or SAN mismatch. If you use
--ssl-verify-server-cert, the cert must match the hostname/IP. - MariaDB won’t start after TLS config: wrong file permissions on
server-key.pemor invalid paths. Checkjournalctl -u mariadb. - Disk fills up from binary logs: you enabled replication/logging without retention. If you’re already in trouble, follow this disk-full recovery guide.
Wrap-up: a secure remote MariaDB checklist
- MariaDB binds to a specific IP, not all interfaces.
- Firewall allows TCP/3306 only from known app server IP(s).
- App user is scoped to
user@hostwith least-privilege grants. - TLS is enabled and verified from the remote client.
- Backups run automatically, and you’ve tested a restore.
Running databases on real infrastructure mostly comes down to discipline. Keep network rules tight, define clear access boundaries, and run boring, repeatable backups.
If you want a stable platform for this setup, start with a HostMyCode VPS. If you’d rather offload patching and baseline hardening while keeping root-level control of your stack, choose managed VPS hosting.
If your app needs MariaDB remote access, run the database on a VPS with predictable networking and enough headroom for backups and growth. HostMyCode VPS plans fit cleanly for single-region deployments, and managed VPS hosting makes sense when you want production upkeep handled without spending your week on server chores.
FAQ
Should I set bind-address to 0.0.0.0 for remote connections?
Avoid it unless you truly need to listen on every interface. Bind to the specific private or public IP used by your app, then allowlist that app server IP in the firewall.
Is it safe to allow MariaDB on port 3306 over the public internet?
It can be safe if you strictly allowlist source IPs, require TLS, and avoid shared credentials. If your client IPs are dynamic, use a VPN or tunnel instead of widening exposure.
What’s better: REQUIRE SSL or require_secure_transport?
require_secure_transport=ON blocks non-TLS TCP for everyone. REQUIRE SSL enforces encryption per user. Using both prevents accidental plaintext clients.
Why does my app fail after I added REQUIRE SSL?
Many drivers default to opportunistic TLS. Update your connection string to enable SSL, supply the CA, and (ideally) verify the server certificate. Test with the CLI command shown in Step 7 to confirm the server is ready.
Do I need mTLS (client certificates) for most web apps?
Not always. Server-side TLS plus strong passwords and strict firewall rules is a solid baseline. Use mTLS when the environment is high-risk, the network is untrusted, or you want to prevent credential-only access.